 May. 06
Sephora Shopping Haul
Link
My Vegetable Garden
Category > Food
I have been waiting for way too long to be able to share this post with you all, but wanted to obviously wait for convenient timing before giving up all the tips and tricks for having your very own Organic Vegetable Garden! Warning – you will never be able to enjoy grocery store vegetables nearly as much after you taste your own crop. Proceed with caution ;)
My husband and I don’t have a big backyard by any means so we had to really make a sacrifice when we decided to convert 60% of it into a garden. For us it wasn’t a hard decision because of the rewards. Since we live in a relatively newly developed area, our soil was like clay. Unless we were growing cacti, nothing was going to happen unless we did something with the soil. Instead of digging out all the grass and dirt, we decided to build up!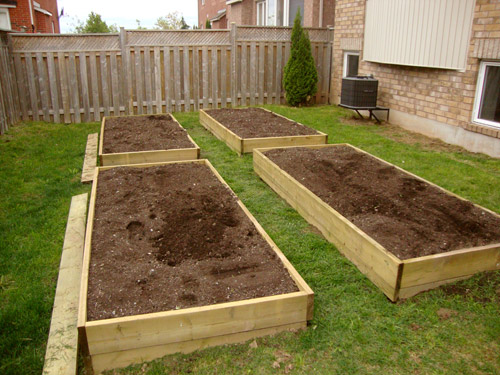
Growing up both of our fathers had enormous plentiful gardens (I was tied to my fathers hip as a kid, so I definitely picked up a bit of a green thumb from him). With the abundance of space we had (living in the country), he would sow seeds into a long trough without a care in the world for needing to optimize space. Obviously, we don’t have that luxury with the limited space – which is how we discovered the MOST AMAZING BOOK IN THE WORLD; ‘Square Foot Gardening’ by Mel Bartholemew.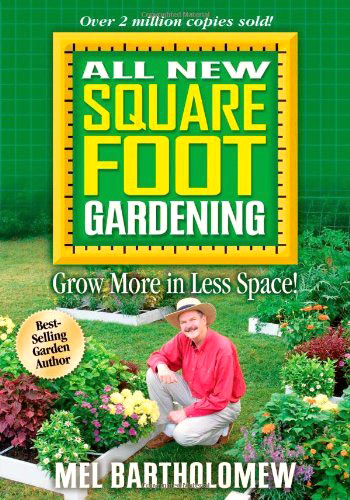
As compared to a traditional row garden, a Square Foot Garden (SFG) produces 100% of the harvest with only: 40% of the cost, 20% of the space, 10% of the water, 5% of the seeds, and only 2% of the work. It is extremely easy to understand, user friendly/great for beginners, efficient, easy to protect (from pests and weather) and economical!
The basics for setting it up (you will find all of this is much more detail in his book):
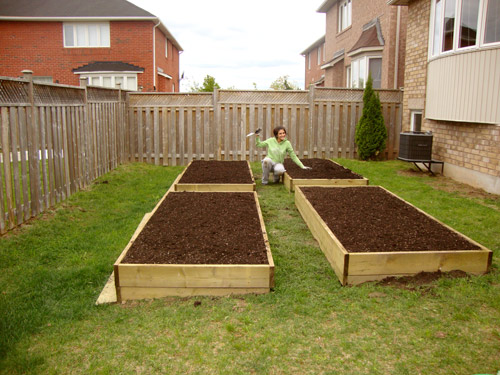
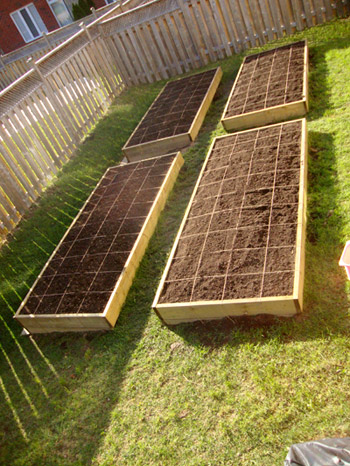
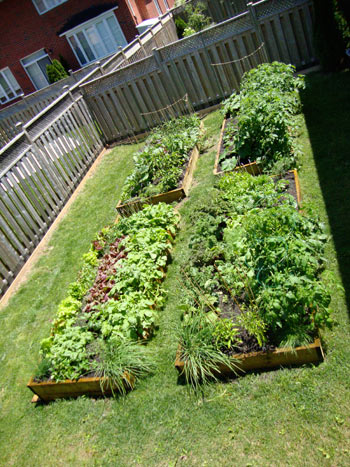
Boxes: To build the boxes, we used 2×8 pieces of wood and made each box 4′ (wide) x10′ (long). The length is up to how much space you have, but we kept the width restricted to no more than 4′ because it was easiest to access all the veggies from either side. Any wider would potentially neglect the ones in the middle if you can’t reach them. We decided to make 4 of these boxes.
Aisles: If building multiple boxes, space them 3′ apart from one another to form walking aisles
Soil Blend: Even if you have good rich soil where you live, I would strongly recommend making this soil mix as it negates the need for any fertilizers or enhancements (keeping your veggies organic): 1/3 Blended Compost (we use an Organic Mushroom Compost); 1/3 Peat Moss (if you can’t find this, you can augment with a traditional Triple Mix, just don’t buy the cheap clumpy stuff); 1/3 coarse Vermiculite.
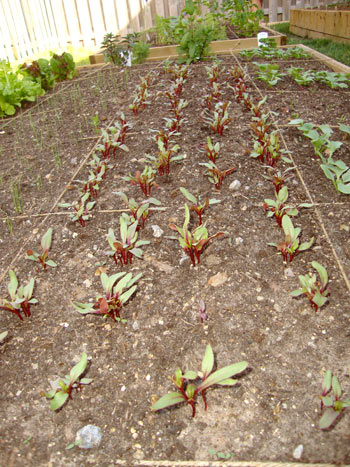
Grid: Make a square foot grid for the top of each box. We put screws on all sides to wrap the string around and keep in place.
Care: Never ever, ever walk on your growing soil! Tend to your garden from the aisles.
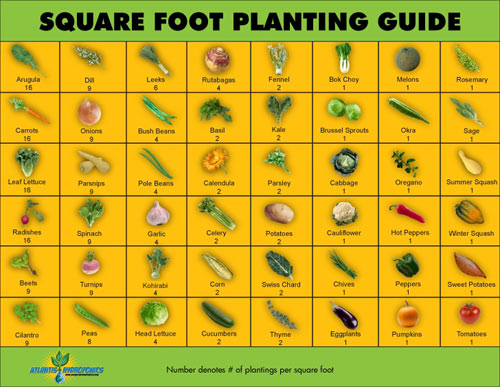
Select: Plant a different flower, vegetable or herb crop in each square foot, using 1, 4, 9, or 16 plants per square foot.
Plant: Poke holes for seeds with your finger, add some vermiculite to the hole and conserve seeds by only using a pinch (2 – 3 seeds) per hole. Cover with a little bit more vermiculite and top with a thin layer of soil.
Water: Water with a watering can during germination from a bucket of sun warmed water. If you don’t have a can, you can turn the hose on mist. You just don’t want too much pressure on the freshly planted seeds or it will blow them away.
Harvest: When you finish harvesting a square foot, add compost and replant it with a new and different crop.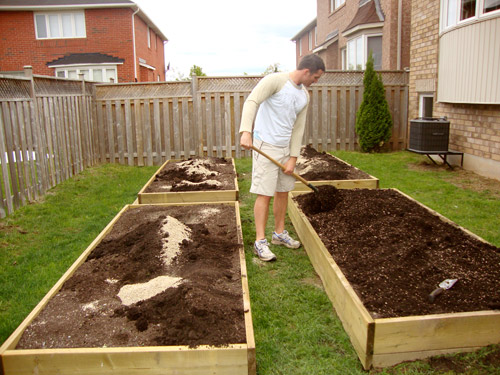
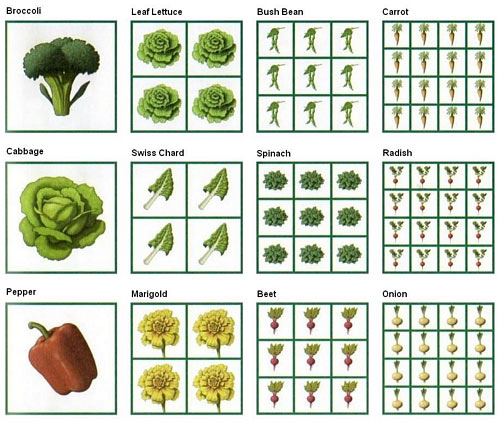
- Small crops, such as radishes and carrots, (and other plants whose seed packet instructions recommend 3″ spacing) should be 16 per square foot.
- Medium plants (spinach, large turnips, bush beans, for instance) should be 9 plants per square foot.
- Next, the large plants, which require 6″ spacing (leaf lettuce and parsley, among others) can be planted 4 to a square foot.
- The extra large plants take up a whole square. These include broccoli, cauliflower, cabbages, peppers, and even geraniums.
- The largest we plant are zucchini’s which take up 9 square feet, but well worth it!!!!
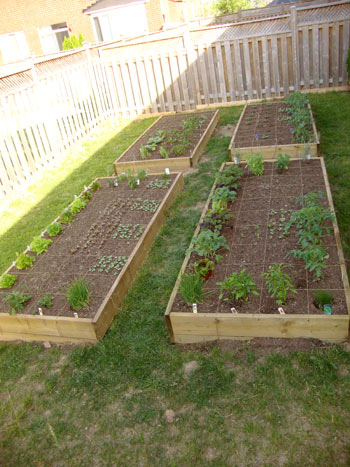

- Ensure that you thin the plants as they begin to grow or else they will compete with each other and nothing will grow.
- Plant at least 1 marigold per box (even if it is tucked away in a corner or placed in the centre) as they deter Japanese Beetles and other insects from eating your plants! They also add a nice splash of colour.
- Be cognizant of the fact that some plants don’t do well growing next to one another. Mel’s book gives a great guide for what to plant, where.
- Don’t neglect the garden thinking that you don’t need to water it.
- Ensure you’re picking crops as they’re ready or else it can kill the plant if it is too mature and will bolt to seed.
- If the marigolds don’t detract all insects, you can use soapy water and spray the plant leaves.
- Pre-plan your layout ahead of time using excel so that it’s easy once you’re out there.


- Stay clear of trees and shrubs where roots may interfere
- Pick an area that gets 6 – 8 hours of sunshine daily
- Make sure the ground is level to avoid pooling after watering and drowning the plants
Our selection for this year ordered from www.WestCoastSeeds.com (great selection of organic seeds and unique options).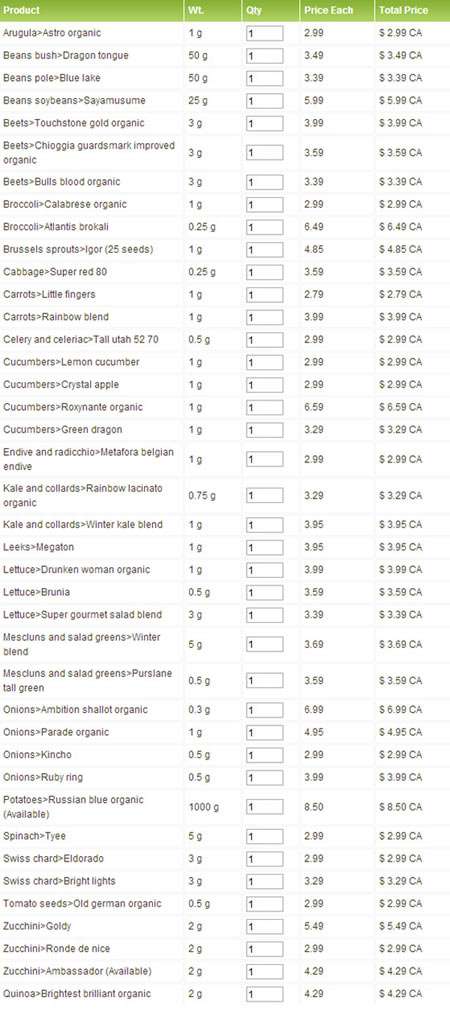
I think the most important part is to GET CREATIVE & HAVE FUN! Don’t feel like this isn’t possible for you if you live in a small home or condo. You can purchase pots that are about 1 square foot each and at least grow a few things. As noted, you will have the crispiest, tastiest veggies that you’ve ever had. I tried to make this post as short as humanly possible, so if you need clarification or have questions leave a comment below (so others with similar questions can see the responses too) or tweet me! Who plans on planting with me this year?!?
xxxo
Maja


